

Step 1
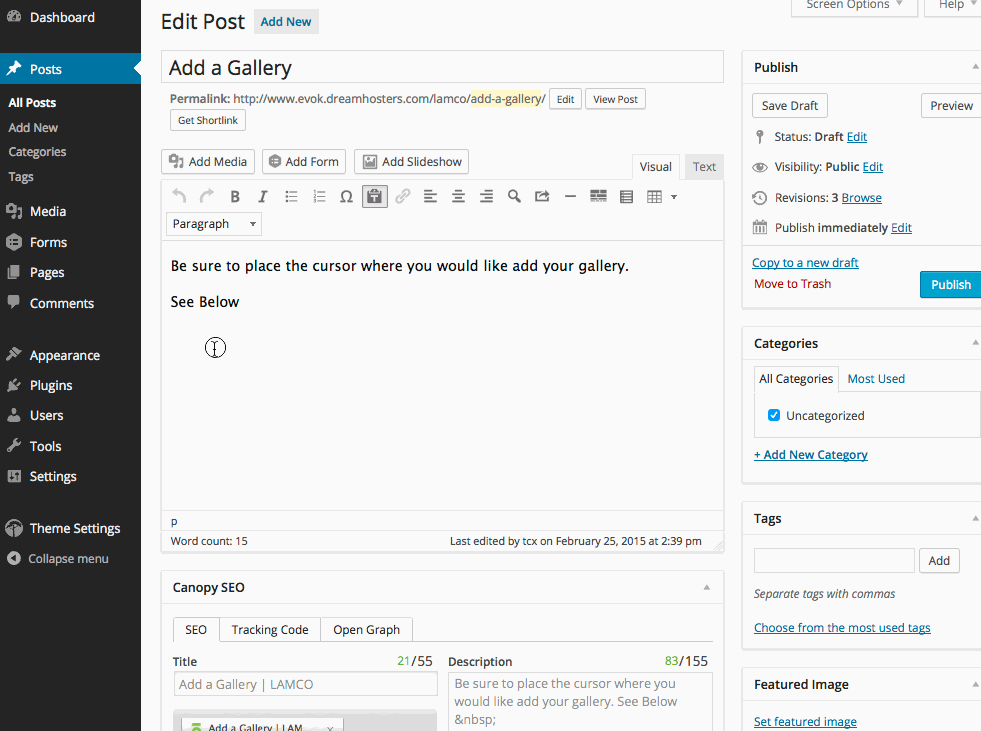 After logging into the administrative side to your WordPress website, find/create the page or post you to which you want to add a gallery. Above the editor, click
 Add Media.Step 2
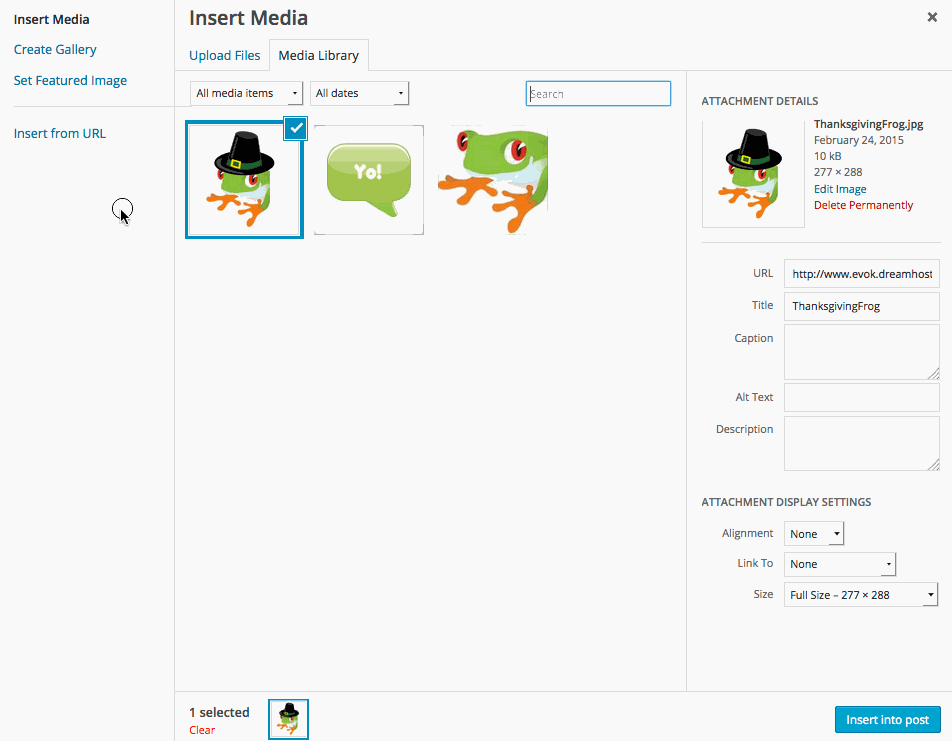 The Media Library will appear, click
 Create Gallery.Step 3
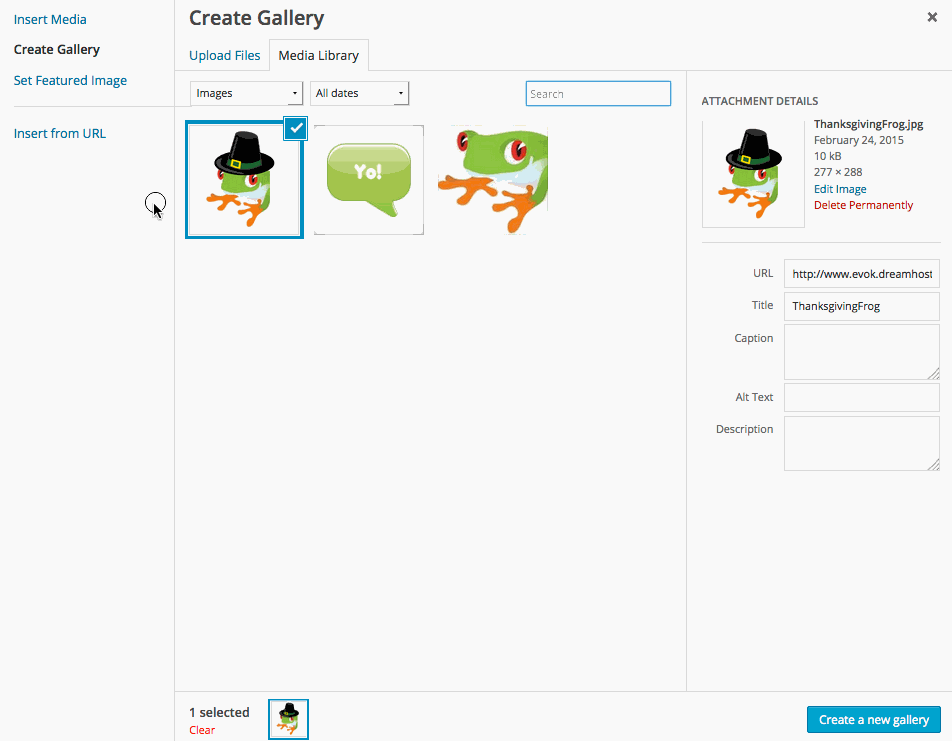 You will see your media library and have the option to choose images from your library. If the images you want to use have already been uploaded there is no need to upload them again, just browse through your library and select the images for your gallery. You may select more than one.
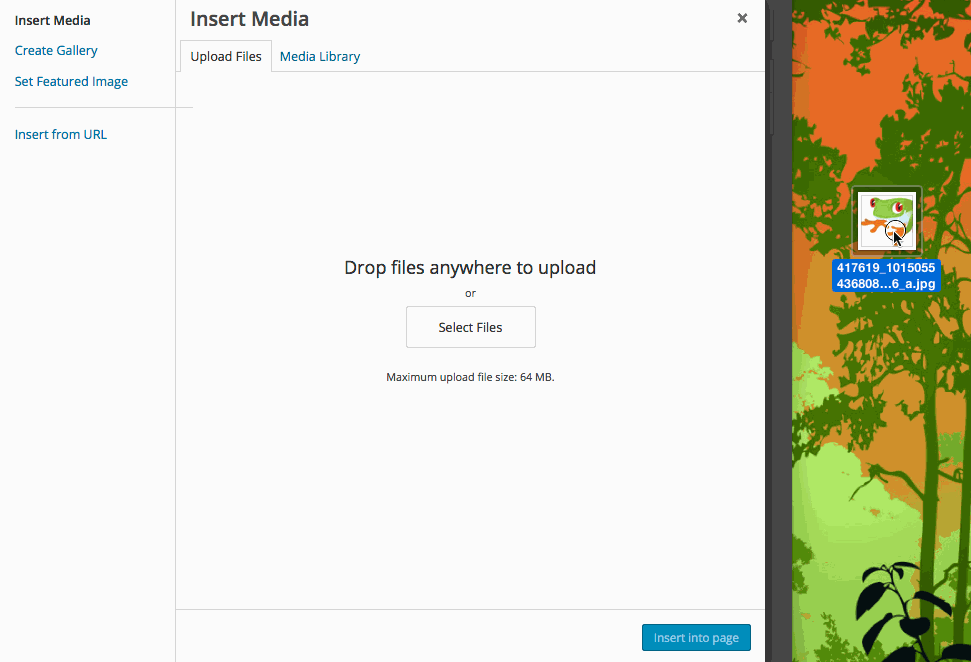
If uploading, you can either click and drag new images directly to this screen, or select "Upload Files" and click the "Select Files" button to browse your computer.
If the media is already uploaded, simply select the files you wish to include. Selected media will show check marks in the upper right-hand corner.
Step 4
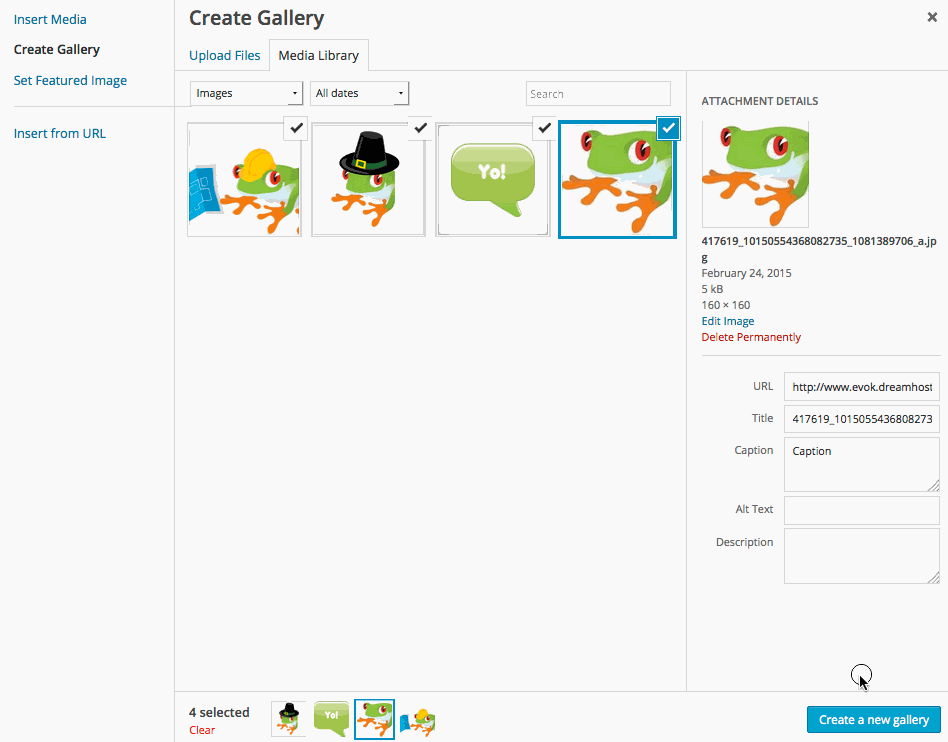 Click
Click Create a New Gallery once finished adding new files.Step 5
 The
The Edit Gallery page will appear. This is where you can add captions for each image. Columns on the right-hand menu lets you choose how many photos display per row. Note: this setting does not affect Photo Sets.There are other features as well, such as random ordering.
Step 6
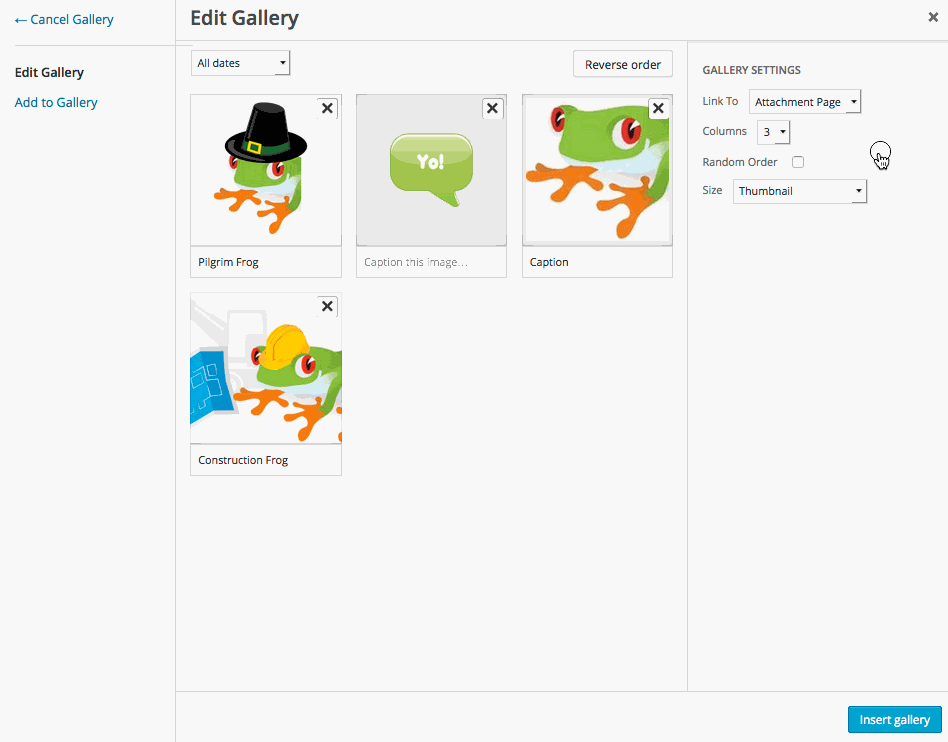 In most cases, images should
 Link To “Media File”, which will cause the image to enlarge when clicked. Linking to an “Attachment Page” will open the image in a new page which the user must navigate back from. Linking to “None” means nothing will happen when a user clicks on the images. The choice is yours depending on how you want the user to be able to interact with your gallery.Step 7
 Once all edits have been made, click
 Insert Gallery. The gallery will appear in your editor.Step 8
 To edit or delete a gallery that has already been created, click on the gallery on the page or post and two icons will appear in the upper left hand corner. To delete click the red circle. To edit click the image icon.
Step 9
 The same editing window from steps 7-9 will appear. You can add images here as well, and once the edits are made click
 Update Gallery.