

After logging into the administrative side to your WordPress website hover over Theme Settings and click Slideshows.
Click New Slideshow in the upper right corner.
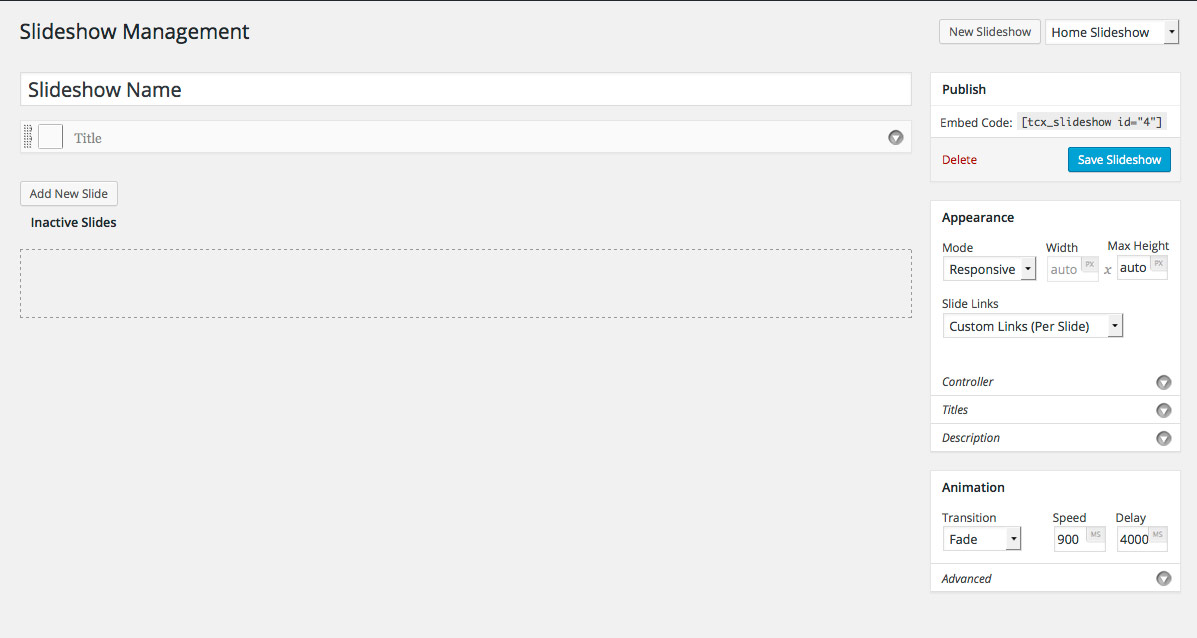
Here you can create and edit the slideshow. Fill in the name of the show.
To add a new slide click Add New Slide.
Click the square where it says Select Image to add an image to the slide.

Here, you can either select an image that has been added to the image gallery or upload a new image. Once you find the image you want for the slide, click Insert into post.
Now you can fill out the title and description for the slideshow. Simply click in the fields and enter the information. You can also add a custom link in the bottom input field. This way when a user clicks on that slide during the slideshow, the link will bring up a new tab in their browser.
Drop down the controller menu to decide whether you would like to use arrows to scroll between slides, or have dots/thumbnails at the bottom of the slideshow.
The Titles and Description drop downs will give options on showing the titles/descriptions and how they will be shown.

On the right side of the screen will be the option to adjust how the slideshow plays. Here you can change the speed in which the slides change and other particulars about the slideshow. When you are done, be sure to click Save Slideshow
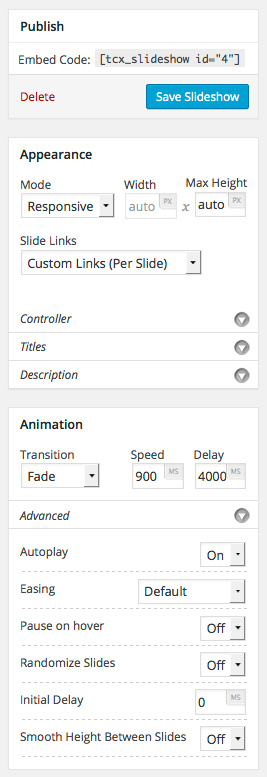
To display the slideshow you can take the embed code (This is right above the Save Slideshow button) and place it on a page or post. You must be in Text view to paste the code.