

Step 1
 Once you’ve logged into the WordPress administrative side to your site, click on
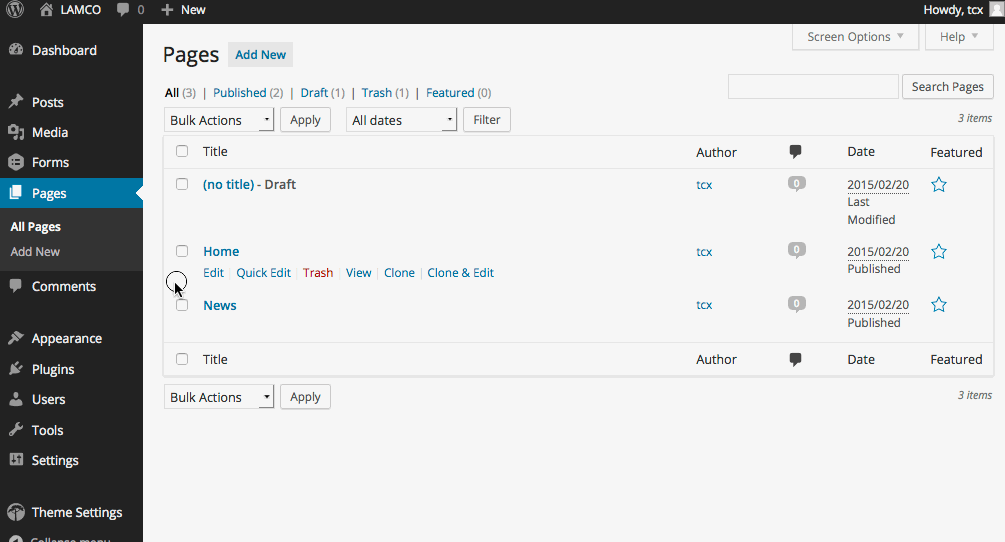
 Pages in the left hand menu.Step 2
 If the page you’re going to work on hasn’t been created, click
 Add New on either the left hand side or at the top of the page.Step 3
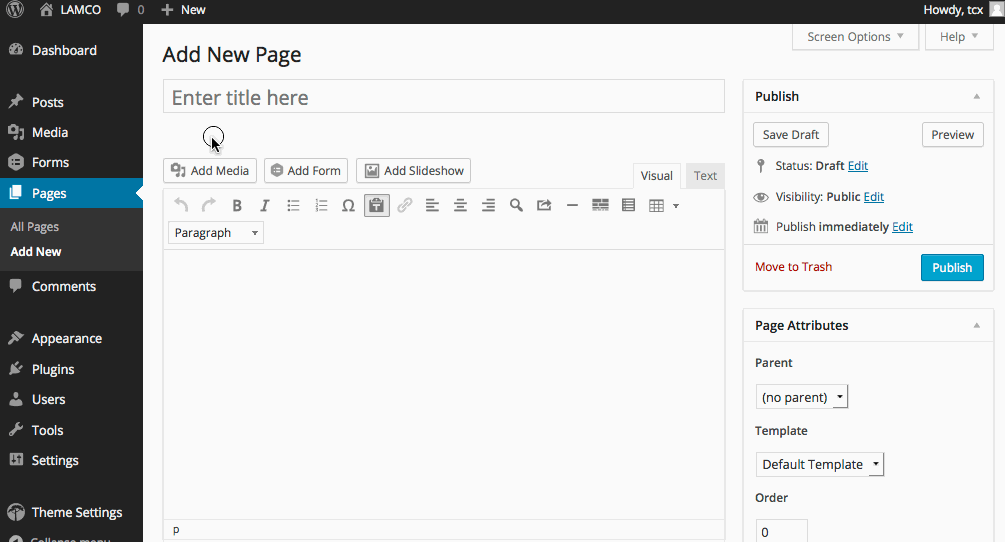 Enter the title of the page and the content into the appropriate fields.
Step 4
 To edit content on an existing page, scroll your mouse over the page title and your options will appear under the page title.
Step 5
 To add a post to your WordPress site click
 Posts in the left hand menu.Step 6
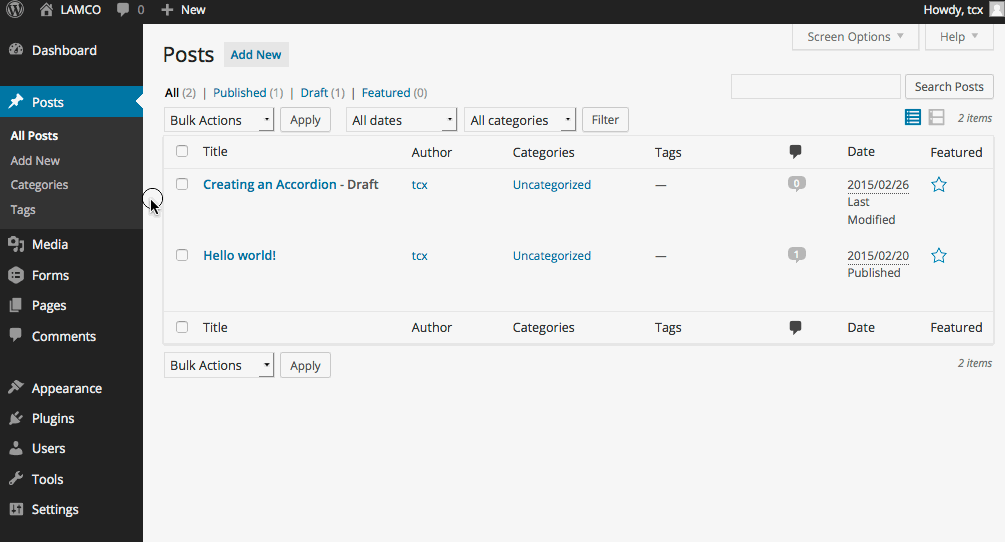 To add a new post it is just step 2, click
 Add New in the side menu or at the top of the page.Step 7
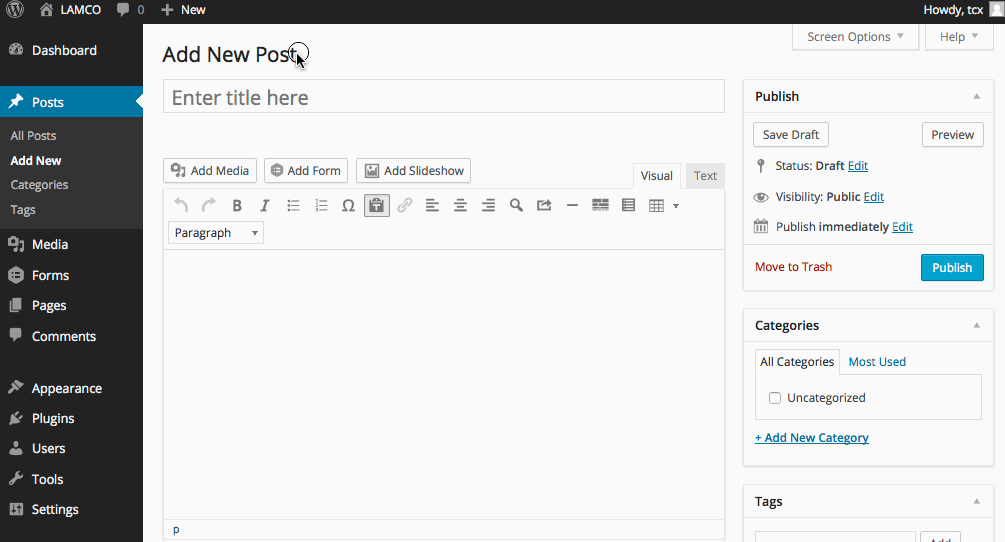 Just as in step 3, enter the title and content into the appropriate fields.
Step 8
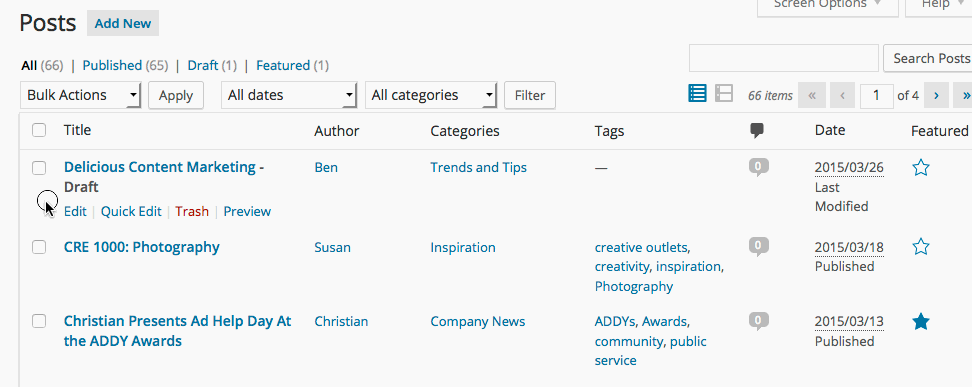 If you are editing an existing post, it is the same as step 4.
Step 9
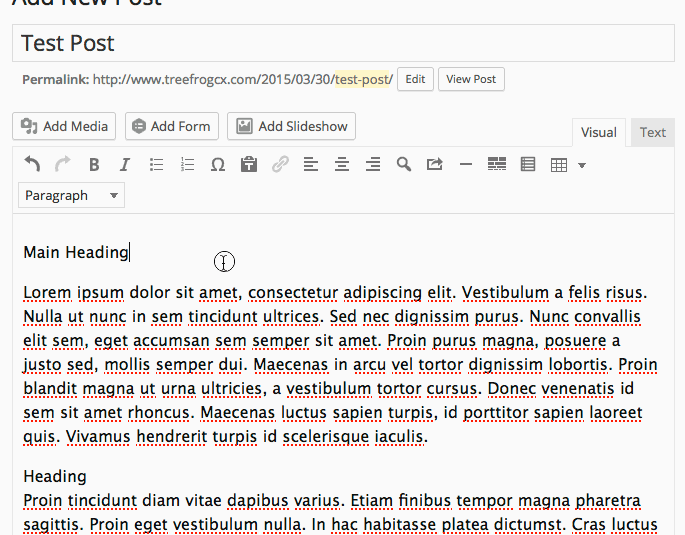 After entering your title, you will probably want to put a heading at the top of your page. In order to select a heading size, you will need to click on the dropdown that says
 paragraph in the toolbar.For your most important heading, you will want to select Heading 2.
Step 10
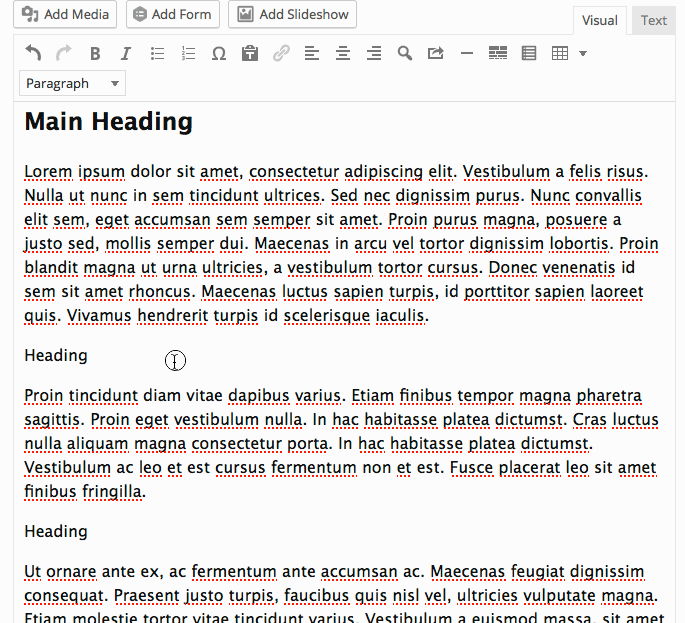 For further sub-headings, select the smaller sizes as you see fit.
 Heading 3 will be slightly smaller than Heading 2 and so forth.Step 10
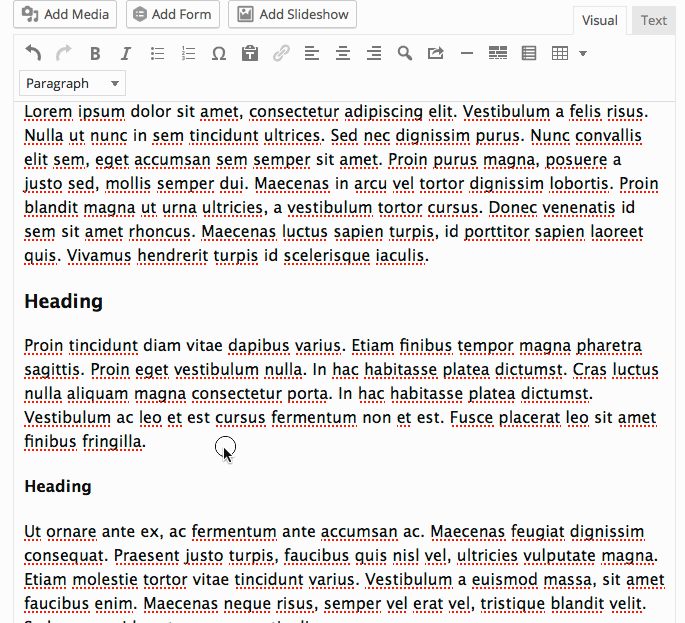 Once you’ve added some content, you may want to add a visual separator to break up your content. You do this by clicking on the insert separator button in the toolbar. Make sure your cursor is where you want this separator to appear.You will see the short code for a separator appear as:
 [sep].