
This past Friday, the students of Valencia Community College’s Graphics Technology Program had an opportunity to participate in a screenprinting workshop by the fine folks at Lure Design, Inc. Being one of said students, I’ve been looking forward to this event for sometime, and was particularly excited because some of my work was chosen to be printed at the workshop. The Graphics Program recently held a poster contest in which the students were challenged with designing a poster to promote the Annual Juried Student Show coming up in April. Two winning posters were to be picked to be printed at the workshop, and I was honored by having one of my submissions being chosen. Additionally, 2 of my other submissions were chosen to be printed as postcards as well, along with 8 others. You can see all of the student submissions on the VCC Graphics’ Flickr!
Screenprinting is a form of printing that’s been around for a long time. Similar in ways to darkroom photography, it involves exposing an image to a screen coated in chemical emulsion. Then, using a squeegee you push the ink through the unexposed parts of the screen to print the image. It’s a fairly long process and you have to do it all manually, one at a time. You also have a screen for EACH color that you want to print – each screen contains only the artwork that would be in that color. You have to print each color individually – so you do all your prints with the first color, then put the next screen on and line it up (register it) with what you’ve already printed, then do the process all over again. Sounds complicated huh? But it’s super cool…
There was a really good turnout for the workshop, and VCC instructor Amanda Kern was there with camera in tow, of course, to document the event. You can see all of the photos she took that day here on Flickr. Below are a few highlights that I’d thought I’d share with you.

Lure made us a little welcome sign - how sweet :)

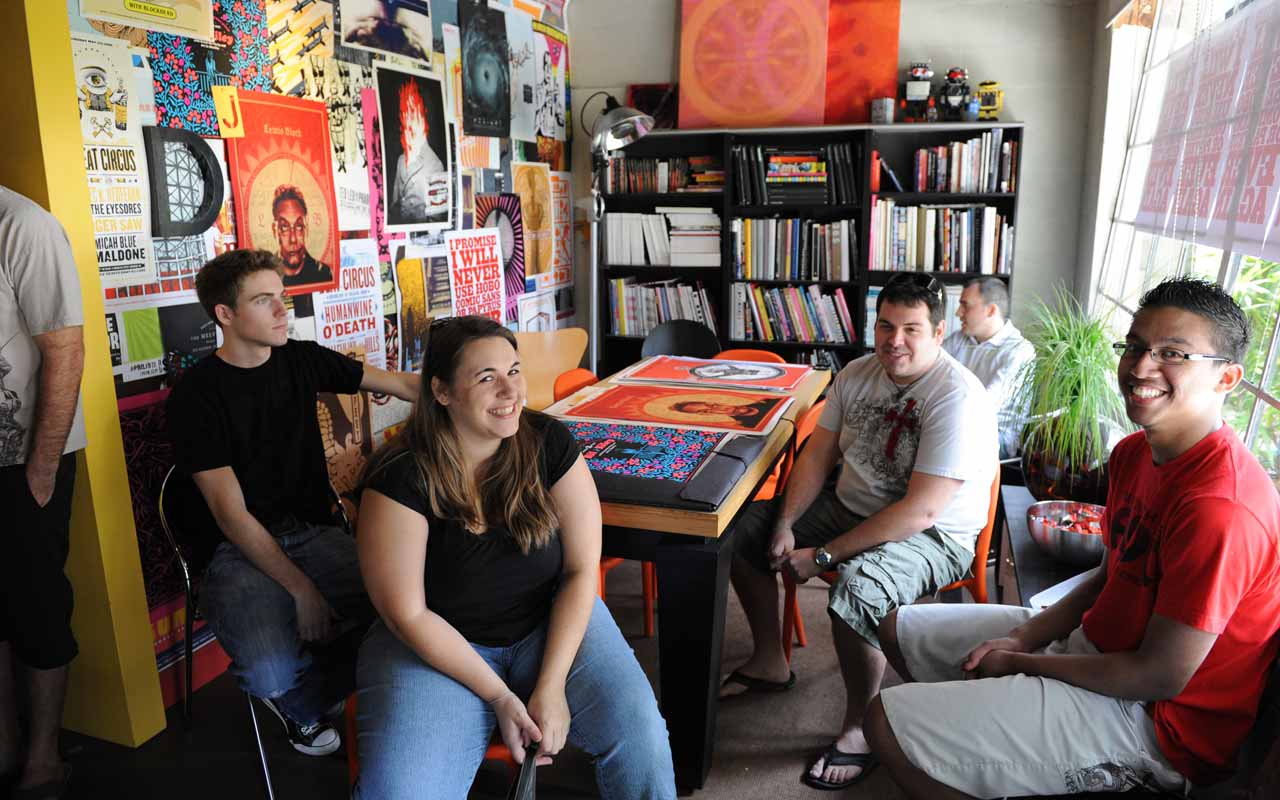
Hanging out up front with Aaron Fischer, Brent Bautista, Gabriel Shockey, and Joel Okun.

These are the films of the image that will be burned into the screens. The dark areas are what will be printed.

Sarah of Lure shows us their darkroom and explains the process of burning images into the screen.

This is one of the screens on top of the film which is on top of a plate of glass over some lights. Lure can burn their screens in about 4 minutes - down to a science!

Sarah shows off one of the burned screens for the postcards. The white-ish areas are where the ink will be squeezed through.

Jeff and Sarah mix the ink that we'll be using. All the inks are custom mixed to the desired color.

Jeff preps the table and lines up the paper to be printed on.

Jeff pours on the first color.

Using a squeege, Jeff floods the entire screen with the ink, making sure that the entire impression area is covered.

With a good amount of pressure, Jeff works the squeegee down the screen, pushing the ink through.

Lifting the screen to check the impression and see how it turned out. Lookin good!

Each of the students got a chance to make a print. Here's Jenny Plucinsky, one of the postcard winners.

Aaron Fischer, the President of our Graphic Design Group, steps up to give it a go.

And now it's my turn...

A close-up of the squeege dripping in ink.

Some dried prints of the first color. My poster design is the one on the right.

Andres Mathews got red on him.

The other poster winner, Leah Ortega, prints the second color.

I also get a chance to print the 2nd color.

So here's the finished 2 color poster drying on the rack.

Now it was time to print the postcards. Sarah from Lure tries out the first color. She can do 100 prints in 15 minutes!

They didn't like the green so much, so they added some yellow to it.

See the difference?

After finishing all the prints with the first color, Sarah shows us how to register (line up) the screen that will be used with the second color.

Tania Sierra gives printing the second color a try.

Joel Okun gets in on the action.

Gabriel Shockey gives his approval.

Tania insisted on the 4 of us having our picture taken together.

These are the 10 finished postcards with both colors, just needing to be cut.

The students sign some prints for instructors Kristy Pennino, Amanda Kern, and Jason Ellison.

Here are some of the poster winners. From the left: Leah Ortega, Brian Nutt, Jenny Plucinsky, me, and Gabriel Shockey.

Me and fellow poster winner, Leah Ortega, showing off our new prints!
So there you have it! As you can probably see, screenprinting takes a lot of manual labor – it’s hard work! But the results are well worth it in the end!
Awesome Christine! Glad to see you all enjoyed the event. Those are some super photos you posted too. ;op
Thanks Amanda – yeah, there was this crazy awesome photographer there ;)
Thanks for sharing! It was really awesome to see how the screenprinting was done. And, what a fantastic graphic design group! Good luck with the show April 17th. I hope to be there.
Great Blog!!! I love screen printed posters. There is such excitment when the layers of ink are printed to finally reveal the full image.
There is a natioanl artist, “Stainboy” that lives and prints poster art in Orlando. You should check out his work. His focus is on concert poster art. Great stuff!